PHOTOS: How to Carve a Pumpkin—It’s the Great ‘Boston Strong’ Pumpkin, Charlie Brown!
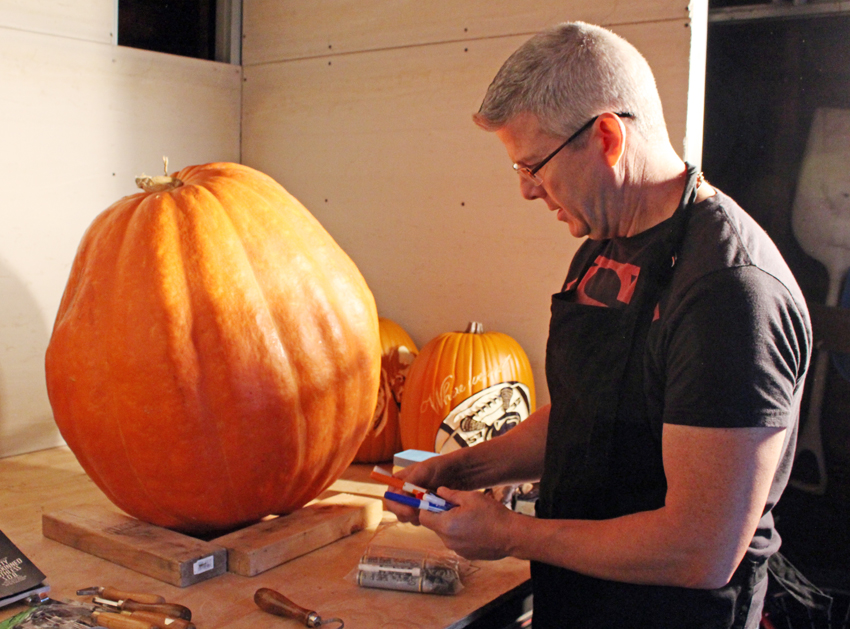
Sculptor Sean Fitzpatrick prepares to demonstrate how to carve the perfect pumpkin. (Photos by Margaret Burdge)
With Halloween just around the corner, it’s time to bring some haunt back to the Hub. And what better way to do that than with October’s official mascot: the jack-o’-lantern?
Anyone can decorate their lawn with the classic triangle-eyed Jack, but creating a lantern that impresses the entire neighborhood takes a little finesse, and expert sculptor Sean Fitzpatrick has the skills. “It’s a gift—it’s like brushing my teeth,” says Fitzpatrick of his atypical art skills. “There’s nothing really difficult about what I do from my perspective.”
Since creating his company, Fitzy Snowman Sculpting, Fitzpatrick has created snow and ice statues, sand sculptures, and world-class pumpkins for all sorts of clients–his largest pumpkin to date was an 1,800-pounder for the Jets, and he just had a 3D chalk exhibit shown at the Museum of Fine Arts.
Imagine getting to watch Michelangelo paint the Sistine Chapel. Well, pumpkin carving isn’t quite like that, but any sort of sneak peek is a real Halloween treat (see what we did there?) So here, check out some of Fitzpatrick’s tips of the trade. Wether you are a first-time carver or a pumpkin pro, these tools can help you cut or shave the perfect design.
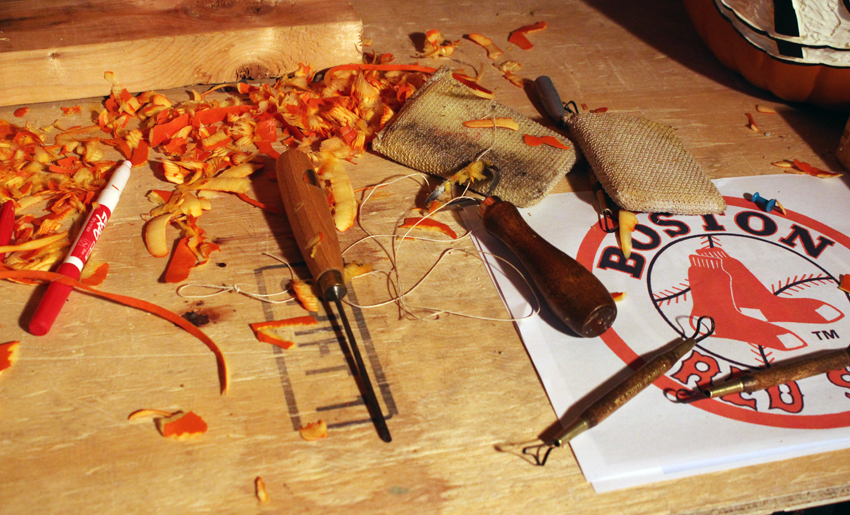
First, the tools. Fitzpatrick suggests using these items to carve your pumpkin: (from left to right) a red dry-erase marker, a wood-carving tool, and clay loops.
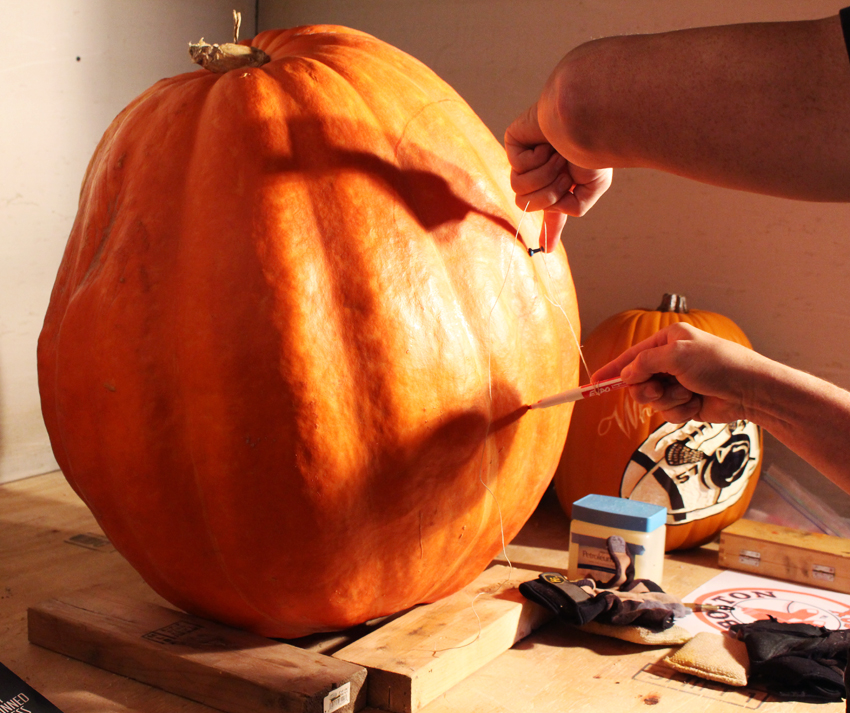
Fitzpatrick likes the large prize-winner pumpkins (this one is 100 pounds) for their contrast since they can be white or green and veinous under the skin. The field pumpkins that you find in the store and in patches have thicker walls. The smaller, heavier ones will be best for 3D carving. Make sure to look for fresh vines and avoid soft spots on the bottom for the best pumpkins.
With a simple push-pin and a string, you can create the perfect circle (shown above). Forget the dotted designs that the pumpkin-carving packs suggest; a red dry-erase marker blends into the color of the pumpkin, and you can erase any errors to start fresh until the sketch comes out just the way you want it.
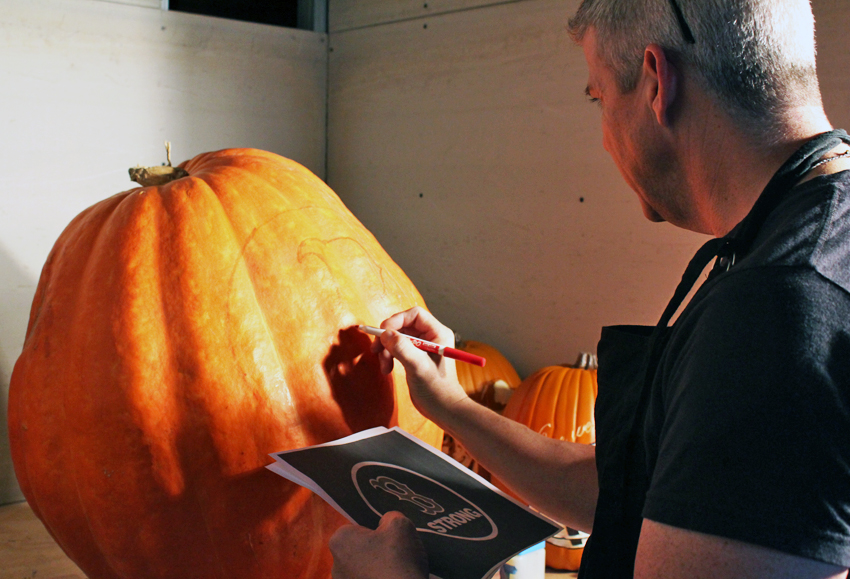
“With this type of art you have a whole lot of latitude to play with,” says Fitzpatrick. “It’s not meant to be permanent in the first place.” So go for grandeur! And if it doesn’t work out, there’s always the next pumpkin.

With the help of an X-Acto knife’s flexible blade, the twists and turns that are needed to form intricate designs are easier to create, and the lines are more delicate for detailed outlines.

Another one of Fitzpatrick’s tricks from cutting countless pumpkins: always wear an apron. While the carving may not get too messy, the pumpkins bleed as you cut, and that orange juicy goodness won’t come out of clothes.
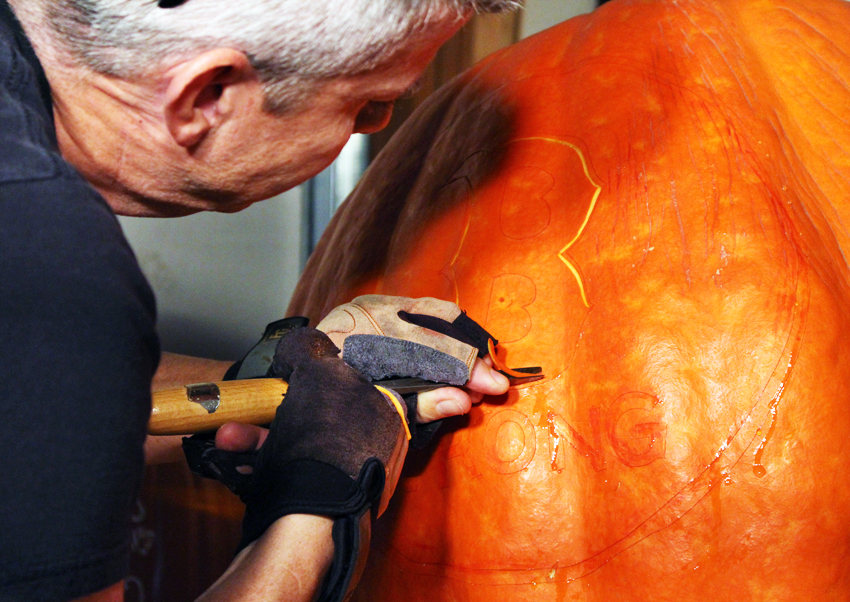
There are two ways to carve a pumpkin, according to Fitzy Snowman. You can go for the negative or the positive. In other words, you could carve into the design you are looking for, or carve away the area around it. Fitzpatrick chose the negative here–his usual preference–because it’s “more dramatic.”
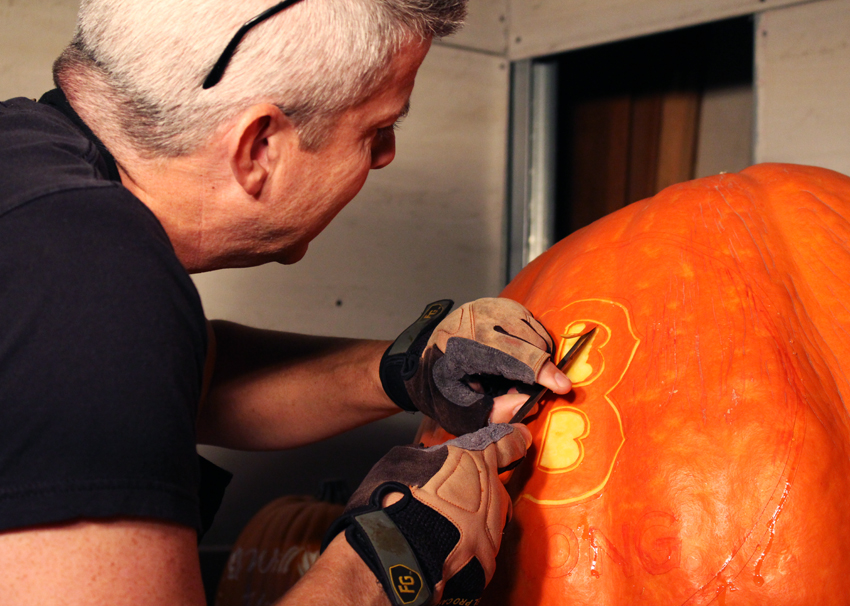
Above, Fitzpatrick uses a woodcarving tool (normally used for shaving table legs or lamps) instead of the X-Acto knife, for one pass instead of the two usually required for v-cutting (cutting 2 ways into a “v,” then removing the slice) with the razor.
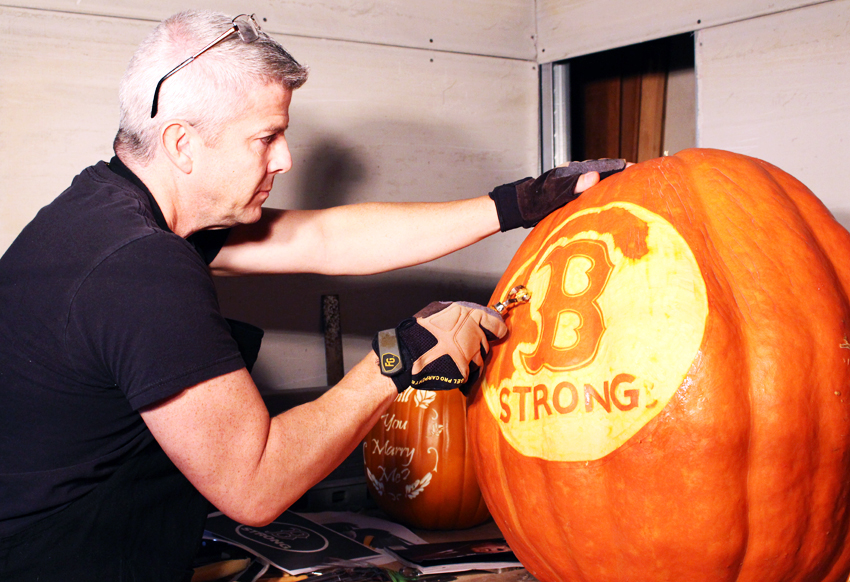
“Even with kiddie tools it can be tough,” says Fitzpatrick of keeping kids safe while carving. With the clay loop above, Fitzpatrick ensures that kids can scrape away easily while parents can ensure that skin will only be coming off the pumpkin. “This gets the kids back in the game.”
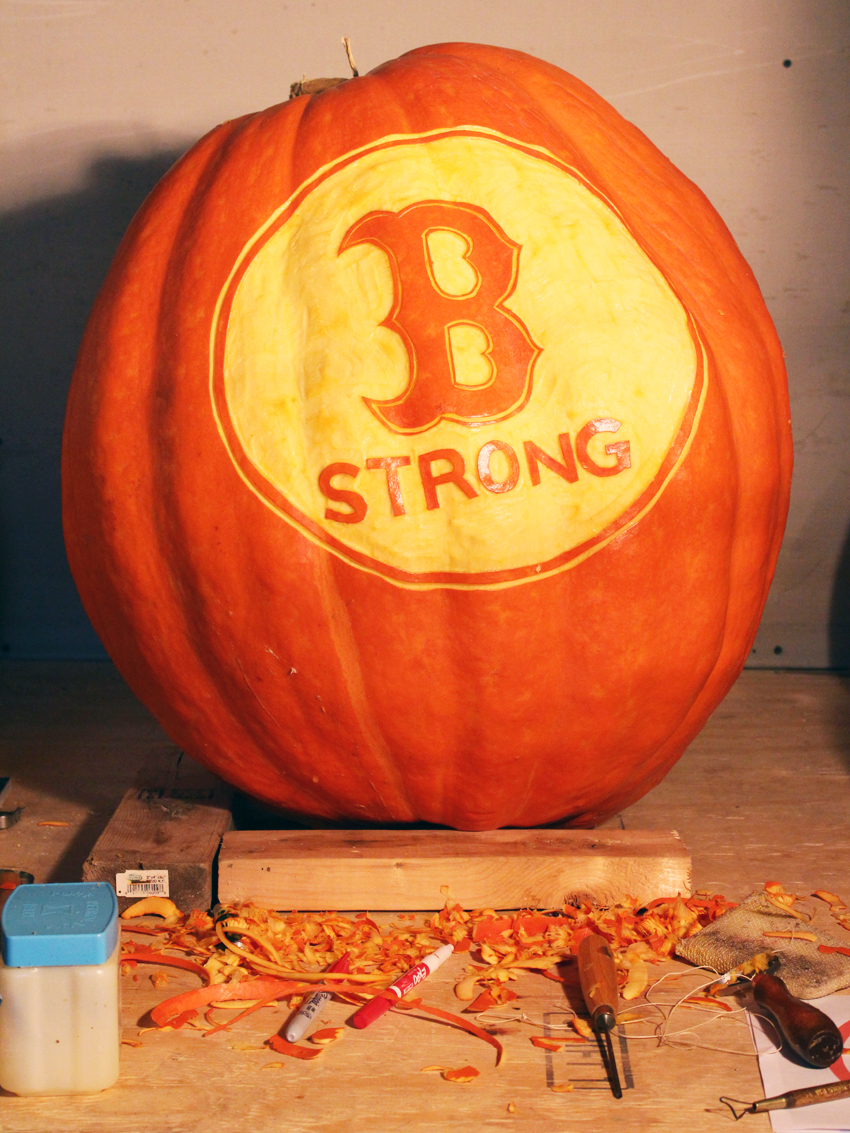
Don’t worry about how deep you’re cutting into the back wall; you won’t cut through unless you try. 3D designs are more touchy, says Fitzpatrick, as using echolocation can be trickier. On a prize-winner like this “Boston Strong” pumpkin, the side walls are the thickest–about six inches on the sides versus three on the front and back. The design you choose could affect how long your pumpkin stays smiling. Pumpkins rot from the inside out since they have been off the vine so long, so by not cutting the pumpkin through, it can last a full month.
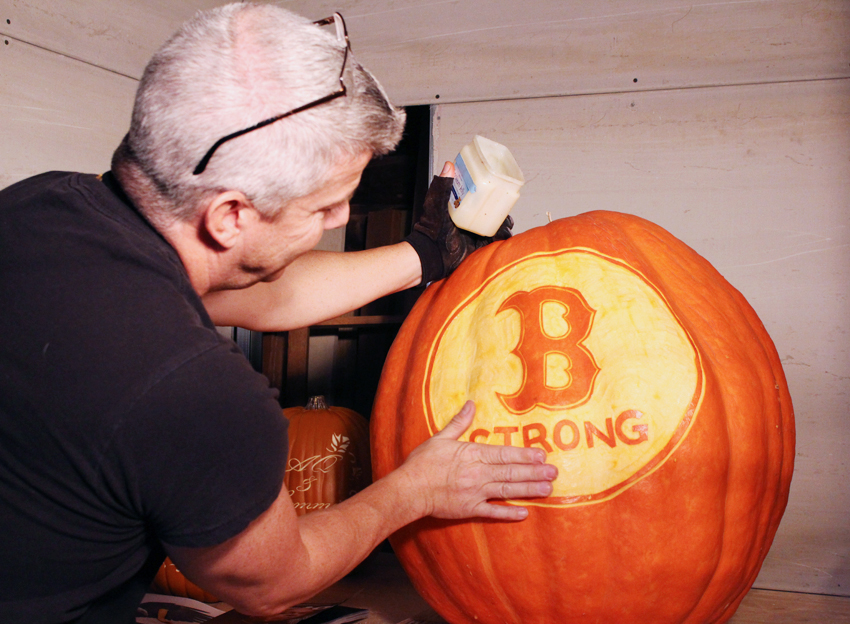
Pro tip: With a little vaseline, your pumpkin will stay looking fresh for longer, with a glossy finish and some extra moisture.
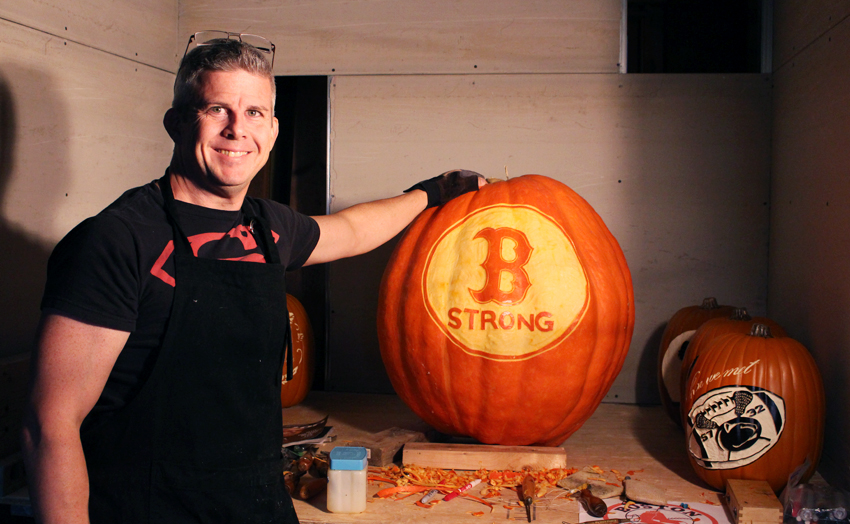
Boston strong. And happy Halloween.


