How to Use Four Common Yoga Props

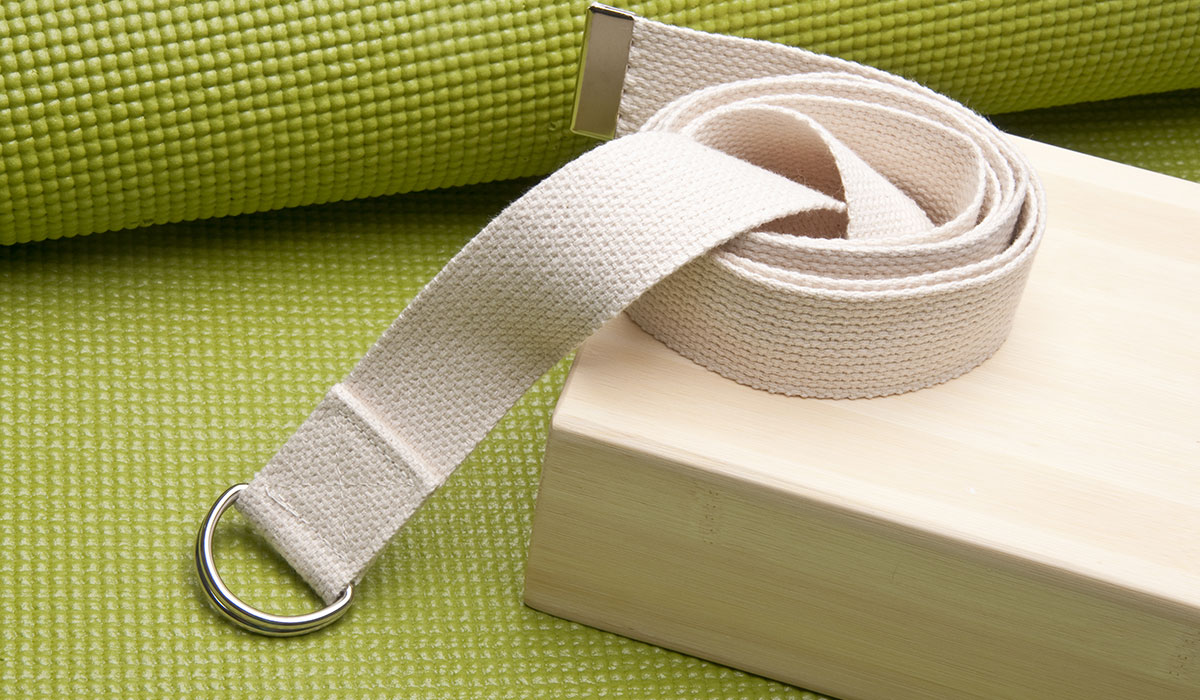
Yoga mat, strap, and block image via shutterstock
At the beginning of a yoga class, the instructor may ask participants something like, “grab two blocks, a bolster, and a strap.” Whether you label yourself a veteran yogi or a newbie, there’s usually some level of uncertainty when it comes to using yoga props correctly. In most cases, your instructor will clearly articulate when to enlist the help of a prop, but crowded classes, loud music, or noisy mat neighbors can make the instructions hard to understand. Here are five uses for each of these four common yoga props: the block, strap, bolster and blanket.
Block
The yoga block is the most versatile and frequently used and prop found in the yoga room. The block is designed with three different heights, and utilized to assist alignment and provide extra reach when muscles are tight. Keep this prop nearby for the following poses:
- Forward fold: Tight hamstrings? Separate your feet hips-width distance apart and take a block in each hand. Bend your knees slightly and fold forward by hinging at your hips. Place the blocks in front of your toes and relax your torso (especially your head and neck) down towards the floor.
- Triangle: Use the block on it’s highest setting and place it on the floor on the inside of your front foot instead of placing your hand on your shin or the mat in triangle pose.
- Half moon: Place the block about one foot in front of the toes on your balancing leg. This extra height and support will help you focus on stacking shoulders and hips.
- Half pigeon: In half pigeon, it’s important to keep your hips square and aligned with the front edge of your mat. If you struggle with this, place a block under your right butt cheek when your right leg is forward in half pigeon, then under your left butt cheek when your left leg is forward.
- Supported bridge: Sometimes we all need a little extra support. Come to bridge pose and place the block under your sacrum, the flat part of your back at the base of your spine. The height of the block depends on your back flexibility.
Strap
Yoga straps are enlisted to achieve poses that address tight shoulders, hamstrings, and other areas that need some extra help:
- Seated forward fold: Come to a seated position with legs extended forward. Wrap the strap around your feet and hold one end in each hand. Move your hands up the strap closer to your feet, coming into a forward fold. This modification is for yogis who struggle with tight hamstrings and can’t reach their ankles or feet in their forward fold.
- Reclined hamstring stretch: Lie on your back and loop the strap around one foot. Extend that leg straight up toward the ceiling and hold onto the strap with both hands, pulling your leg towards your body.
- Gomukhasana (cow face pose): Can’t link hands? Hold one end of the strap in your right hand and extend your arms straight up in the air. Bend your right elbow so that your hand dangles between your shoulder blades. Bend your left elbow behind you, grabbing the strap and inching your left hand towards your right hand.
- Forward fold with hands clasped: This popular forward fold variation is difficult for yogis with tight shoulders. Instead of interlacing your hands at your low back, separating them slightly using the strap. Fold forward and let your hands move towards the ceiling. You may need to loosen your grip on the strap and move your hands further apart to ease into the shoulder stretch.
- Standing side bend with arms overhead: Hold your strap with hands separated one or two feet apart. Reach your arms overhead and bend to the right, then left.
Bolster
The bolster is typically enlisted for reclined and seated poses. It provides a little lift off the floor and a cushion that eases the body into relaxation. Try these bolster variations of familiar yoga postures:
- Elevated legs up a wall: Place your legs up the wall per usual, then lift your hips and slip the bolster underneath.
- Bolster under knees for savasana: We’ll call this Savasana 2.0. Come to corpse pose and place the bolster under your knees.
- Reclined heart opener: From a seated posture with legs extended forward, lie back with the bolster starting at your low back and stretching up to your head. Try this pose in place of fish or other heart openers.
- Supported child’s pose: Kneel and pull the bolster between your legs. Lie face down, resting the front of your body on the bolster.
- Reclined hero’s pose: Come to a seated hero’s pose, and lie back to rest your spine and head on the bolster.
Blanket
The yoga blanket, similar to the bolster, is great for extra padding or a height boost. Keep a blanket nearby for the following pose variations:
- Shoulder stand: Pad your shoulders and upper back with the blanket.
- Headstand: New to headstand or looking to stay there for a while? Use a folded yoga blanket for a softer base.
- Seated pose: When staying in seated pose for an extended period of time, yogis should situate their hips higher than their knees. This can be achieved using a block, bolster, or blanket (the tighter the hips, the more height you’ll need).
- Under the knees for padding: Like extra padding under your knees in tabletop or other poses? Keep that blanket next to your mat.
- Covering in savasana: Use the blanket as… well… a blanket! During savasana, use it to cover your body to rest and relax.
What are you favorite yoga prop hacks? Share below!


