Five Steps for How to Arrange Flowers at Home
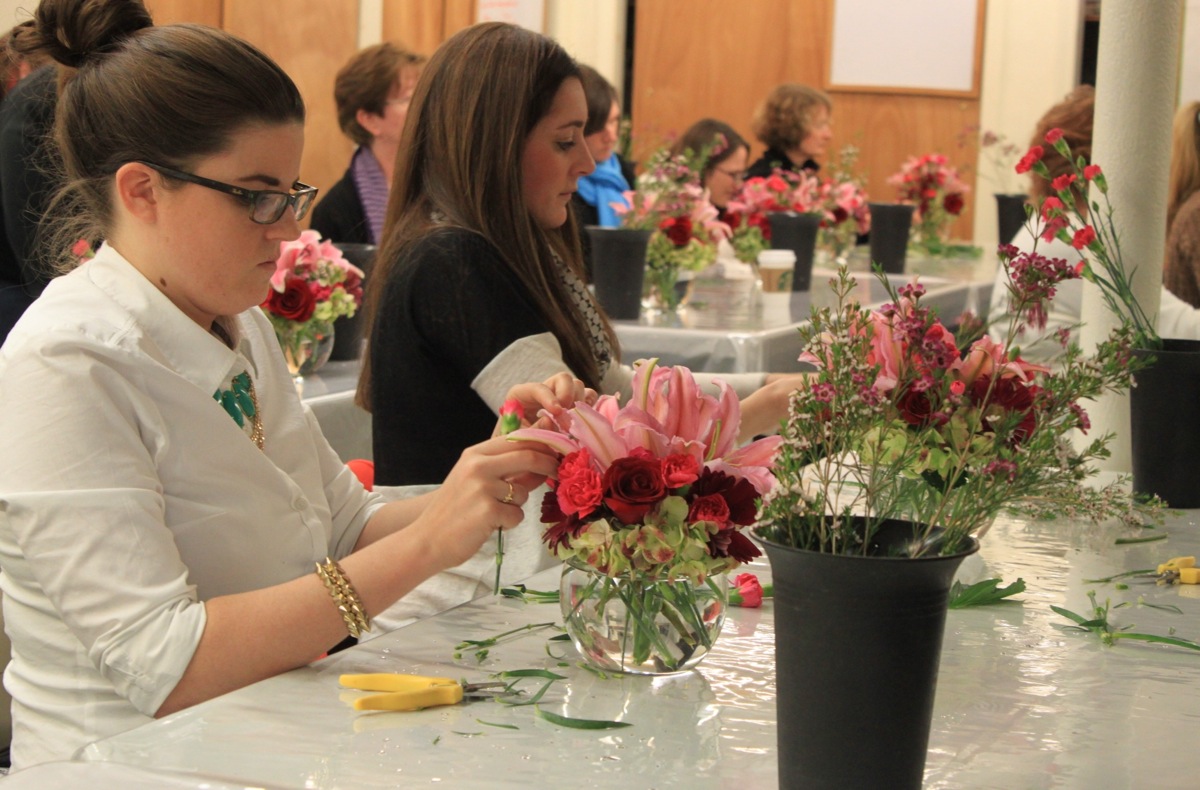
Photo provided by Cass School of Floral Design
Cass Flowers started as a flower shop in 1946, and later grew to include the Cass School of Floral Design, which was established in 1981. With over 30 years of experience, the school has taught floral design to thousands of budding professional florists and hobbyists alike.
Faith Cass, the shop owner and school director, is a second-generation florist who prides herself on being a member of the American Institute of Floral Designers, the most selective and prestigious professional floral design association in the United States. Cass has won numerous design and professional awards, and her work has even been on display at the White House.
Here, Cass shares tips for how to arrange flowers at home. Her tips are realistic and are peppered with relatable examples (like comparing a cut finger to a cut flower stem). If you find you need more guidance, try taking a class at one of the Boston-area schools listed below.
Step 1: Pick your flowers.
For a foolproof arrangement, Cass suggests limiting yourself to one type of flower in single color palette. Right now, a nice seasonal choice would be pink peonies. The benefit of choosing one bloom variety is that the flowers will ripen and open at similar speeds which is not always the case in a mixed bouquet.
When picking your flowers, check for the usual signs of flower fatigue—damaged, torn, browning, wilting—and then consider these suggestions from Cass as well. Pretend you’re shopping for produce and are selecting asparagus or celery. You want the vegetables to have a crisp, green look and the same is true for flowers. If the stems look brown or soggy, pick a different bunch. Look for a sharp, clean cuts. If you don’t embarrass easily, try picking up the bouquet and smelling the sliced bottoms of the stems to make sure they’re fresh.
Additionally, healthy flowers feel perky. If you hold the flowers in your hand they should feel a little cold and strong to the touch. If there is a sense of warmth or droopiness, move on.
Step 2: Select the perfect vase.
Think about what you want to do with your blossoms. If the container is too big, your arrangement will flop around, and if your container is too small, your arrangement will look squished. Gather up all of the flower stems in a bunch and consider their diameter. Picking a vase that’s double the diameter or just a bit bigger is a safe bet. For a bouquet three inches in diameter, try a vase that is six or seven inches in diameter.
Another factor to consider is height. Ideally, you should pick a vase that is a little less than half the height of your trimmed stems. A lower vase will give your arrangement a flared look while a taller vase will give you more control.
Step 3: Prepare your water.
Think about outdoor flowers. When it rains, water filters through soil to the roots, which in turn, bring water to the plant. Soil creates a natural purification process that we must replicate in flower arrangements. The goal is to trick flowers into thinking they are still growing in the ground. For this reason, Cass suggests using a tiny bit of bleach in the water (approximately 1 capful of bleach per 2.5 gallons of water) so that plants still have access to clean water despite the fact that they are no longer in soil.
As an alternative, always use the nutrient packets which are often free with a flower purchase. These both purify the water and supply food to the flowers. If you opt for a packet, make sure to follow the directions. Too often, people do not properly dilute the solution and this burns flower and kills them prematurely.
Step 4: Cut your stems.
Having a properly sharpened implement is crucial for this step. You can use a knife, scissors, or gardening shears as long as the blade is sharp enough to make a clean cut without squishing the stem. Cut the stems on an angle higher than you might imagine.
Think about cutting your finger, first you bleed and then coagulate as the wound seals itself. Similarly, when flowers are first cut, they lose precious nutrients and the stem starts to seal itself for protection.
The reason we cut flowers is to get above the seal and re-open the stem so that it draws water. Depending on how long ago the flower was cut, one inch may not be enough to re-open the stem. The higher you cut, the better the chances are for the flower to pull water. You can tell if the stems aren’t pulling water because the flowers will droop overnight. Try re-cutting the stems higher, flowers should bloom until their petals fall off.
Step 5: Arrange your flowers.
Once you cut the stems, make sure to get flowers into the purified water or solution immediately.
Cass likes to sort her flowers into like piles—greens together, spiky stems together, light flower together, etc. First, she creates a criss-cross grid with the greens to give herself a foundation. Then, she begins to add the blooms. For a contemporary look she suggests clustering flowers by color. For a more traditional look, she suggests equally spacing flower varieties around the vase. For example, if you have four carnations, place them in four separate areas to form a square.
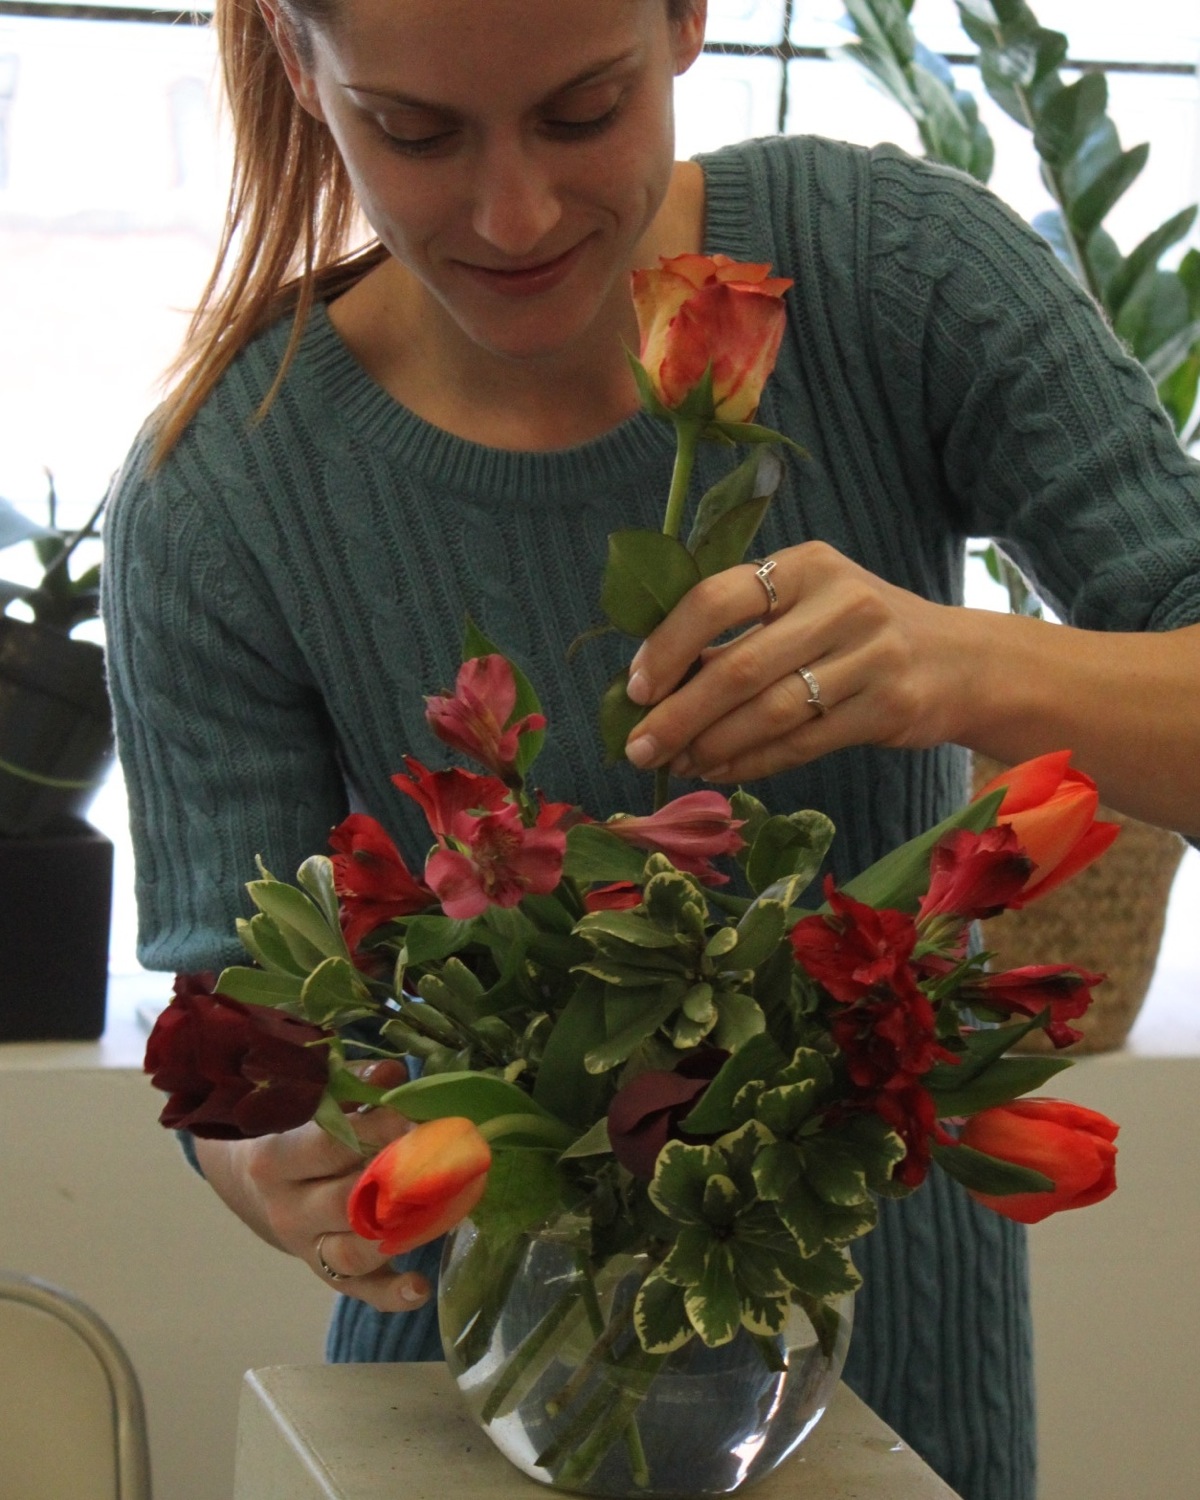
PHOTO PROVIDED BY CASS SCHOOL OF FLORAL DESIGN.
Want to learn more? Check out these area flower schools for workshops and certifications:
Cass School of Floral Design in Watertown offers a plethora of classes on many topics such as festive holiday arrangements, DIY wedding flowers (including boutonnières and corsages), essential basics, as well as a Professional Florist Training Program. 531 Mt. Auburn St, Watertown. Class times vary. Prices start at $75. Info: 617-924-1222, cassflowers.com.
Hanaya Floral Design is a flower shop in Cambridge that offers monthly Saturday lessons. 292 Concord Ave, Cambridge. 10 a.m.-12 p.m. $125 per class. Info: 617-547-1770, hanayafloral.com.
Le Jardin Blanc now focuses on landscape design but still offers fall and winter classes and lectures at Southborough Recreation and Tower Hill Botanic Garden in Boylston. Tower Hill Botanic Garden, 11 French Drive, Boylston and Southborough Recreation, 21 Highland Street, Southborough. Class times vary. Prices start at $15. Info: 508-485-8445, lejardinblanc.com.
North Shore Community College offers a noncredit certificate in Floral Design; you may also enjoy classes without working toward a certificate. 1 Ferncroft Road, Danvers. Class times vary. $169 per credit for in-state tuition. Info: 978-762-400, northshore.edu.
Rittners School of Floral Design in Back Bay offers day and evening classes that teach business skills and can be flexible with busy schedules. For the more casual enthusiast, there are one-off workshops and even a bridal bootcamp. 345 Marlborough St, Boston. Class times vary. Prices start at $90. Info: 617-267-3824, floralschool.com.
Tangerine Creations in the South End has a philanthropic arm that offers classes to non-profits and charities. They also offer programs that are career focused as well as as recreational. 141 Malden Street, #103, Boston. Class times vary. Prices start at $225. Info: 617 202 0299, tangerinecreations.com.