It’s Time to Prep Your Home for Winter

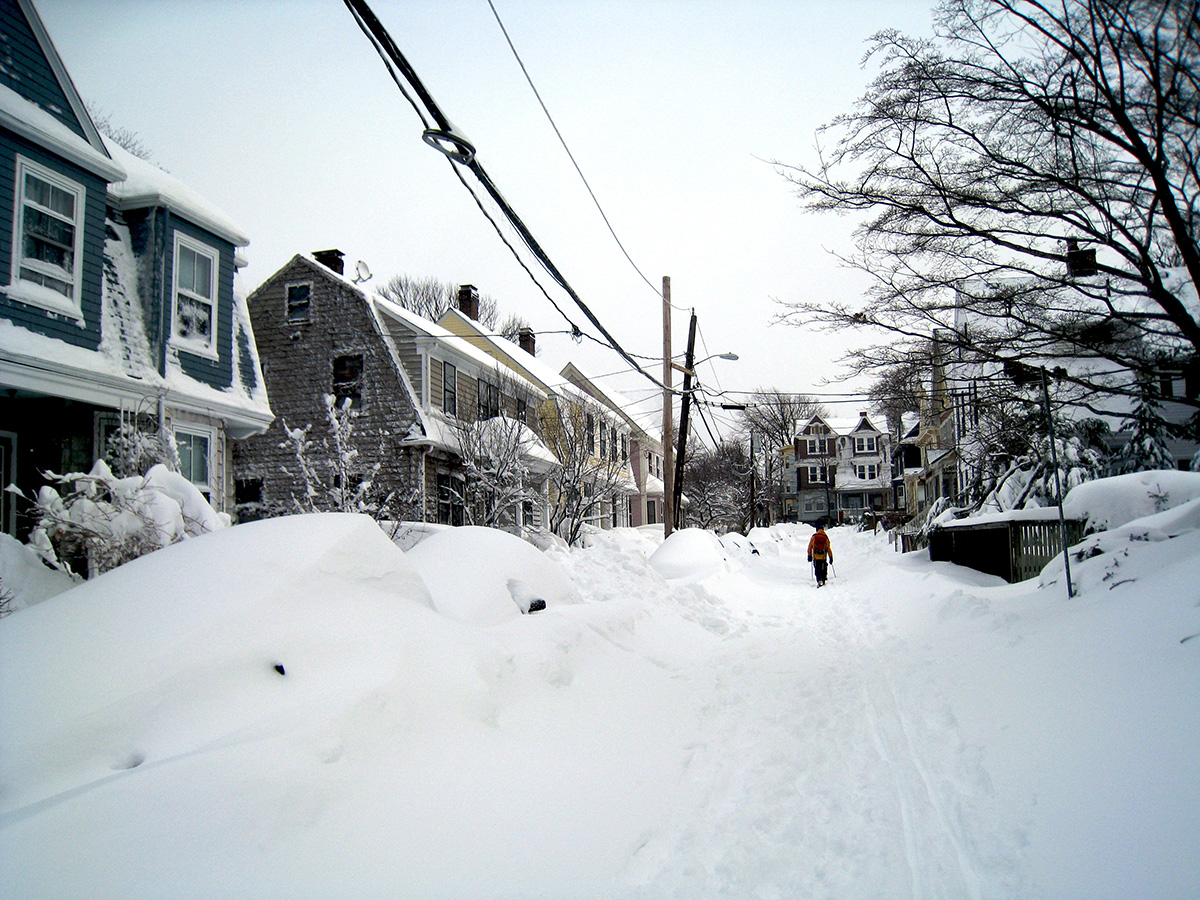
Photo by James Byrum on Flickr/Creative Commons
Sometimes it seems like stores begin playing holiday music the day after Halloween. It’s annoying, sure, but there’s no denying those stores are sufficiently prepared for the slew of festivities that winter will bring. Getting a jumpstart on a winter to-do list is helpful before the holidays kick into high gear, which is why it’d probably serve you well to begin preparing your home for chillier temperatures.
Sealing windows may be a little less fun thank cranking up “Jingle Bells,” but insulated windows can aid in snowstorms in ways that music cannot. Whether you’re a brand-new homeowner or an old pro, a reminder about winter home preparation never hurts. Here, find a few tips from Stephanie Vanderbilt, co-owner of Beverly-based Coastal Windows & Exteriors, to keep your house warm and comfy all season long.
1. Always clear the gutters first.
This is an essential task for almost all homeowners. Why do it first? Because beginning with outdoor duties while you can will save you from working in unbearably cold temps. Grab a ladder, a bucket, and some work gloves to clear debris from the gutters. Leaves and small tree branches can clog them, and with some added rain or snow, things can get ugly.
“This excess weight will pull your gutters off the side of your home and potentially cause leaks,” writes Vanderbilt in her Winter Ready Home Guide.
While you’re outside, trim back any trees hanging over the house, check your home’s siding to make sure it’s not rotting, and make sure your deck and porch are not bending or bowing anywhere.
2. Check on the chimney (if you have one).
Water should never trickle down the chimney.
“Chimneys must be properly flashed to ensure water cannot leak down its sides and into your home,” explains Vanderbilt.
She explains a properly flashed chimney should have a six-foot long ice and water shield layer around all sides, custom-fitted flashing sealed to the roof with caulk, and custom-fitted flashing in the attic. While you’re up on the roof tending to the chimney, do a quick visual sweep of it shingles to look for cracking and mold.
3. Stop ice dams in their tracks by taking a trip to the attic.
Ice dams are huge walls of icicles that prevent water from running off of your roof. They’re a pain, but can be prevented with proper ventilation, adequate insulation, and an ice and water shield for the roof. To detect early warning signs for ice dams, head to the attic. Make sure it’s the same temperature as outside (to ensure the ventilation is working) and keep an eye out for condensation. Getting rid of moisture buildup will ensure melted snow running down your roof won’t refreeze at the edges, forming ice dams.
4. Seal spots where drafts can leak in.
This sounds like a no-brainer, but Vanderbilt identifies a few unexpected draft spots to look out for. First, bathroom exhaust fans are often culprits of letting in cold air, as well as recessed lighting receptacles. There’s also the potential for drafts under a first-floor bathtub.
“When your plumber cuts into your subfloor to make room for your drain assembly at the bottom of your bathtub, they need to make a larger hole that gives them some extra room when [connecting] the pipes,” says Vanderbilt.
If that hole isn’t insulated or sealed, you may be wasting energy.
5. Consider insulating your windows and doors.
Vanderbilt explains drafty windows and doors are responsible for up to 40 percent of a house’s heat loss. Window and door insulation varies depending on the home, but she suggests using minimally expanding foam in cracks smaller than one inch wide and fiberglass for spaces larger than one inch wide.
“It’s also important not to use too much insulation,” says Vanderbilt. “While you want to fill any open spaces in and around your windows with proper insulation, you don’t want to pack these spaces tight. All houses and products expand and contract, so you need to allow for this natural movement.”
You can download Coastal Windows & Exteriors’ Winter Ready Home Guide here.


